Auto Layout Text
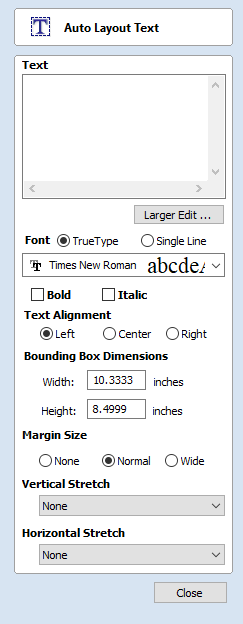
This option automatically sizes a block of text to fit inside the boundary box (width and height limits) of a selected vector or vectors. If no vectors are selected the text is scaled to fit the size of the material.
Entering Text
The procedure for Drawing Text in the 2D Window is:
- Select the vector inside which the text is to be fitted
- Click the Draw Text icon
- Enter the required text content
- Select the font either True Type or Single Line as required and alignment options
The button opens a larger text entry window that makes it easier to enter text that needs to run on longer line lengths.
Font Selection
Vertical Fonts
Fonts that start with the @ character are drawn vertically downwards and are always left justified
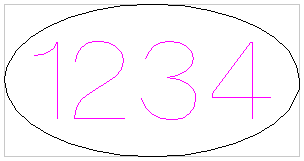
Engraving Fonts
The Single Line Radio Button changes the Fonts list to show a selection of fonts that are very quick to engrave.
This example shows text (in an Engraving Font) drawn in an ellipse. The bounding box of the ellipse is used for the layout:
Text Alignment
Positions text relative to the selected bounding box or material size with options for left, center and right aligned.
Bounding Box Dimensions
These are the actual size of the box into which the text will be fitted. If the text is scaled interactively (by left clicking twice on the text) or precisely using the scale tool, the new bounding box is updated and displayed as a light gray rectangle.
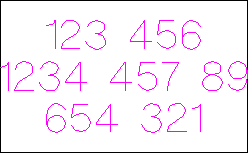
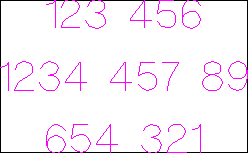
Margin Size
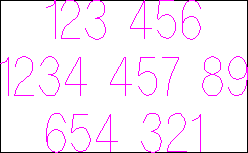
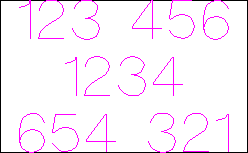
The distance between the text and the bounding box where:
- None - Scales text to fit the rectangle width or height of the bounding box
- Normal - Scales text to fit within 80% of the bounding leaving a 10% border to the left and right.
- Wide - Reduces the size to 60% of the rectangle width leaving a 20% border to the left and right.
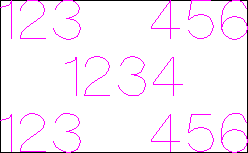
Vertical Stretch
When the text fits the width of the box and there is space above and below it, the text can be made to fill that vertical space using one these methods:
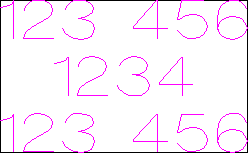
Horizontal Stretch
When the text fits the height of the box and there is space at the sides, the text can be made to fill that horizontal space using one these methods:

Edit Text
To edit text properties or content of previously created text:
If the Create Text form is open, click the text you wish to edit or
If the Create Text form is closed, click the left mouse button on the text in the 2D View to select it before opening this form. The form will now allow you to edit the properties of the selected text.
Spell Checker
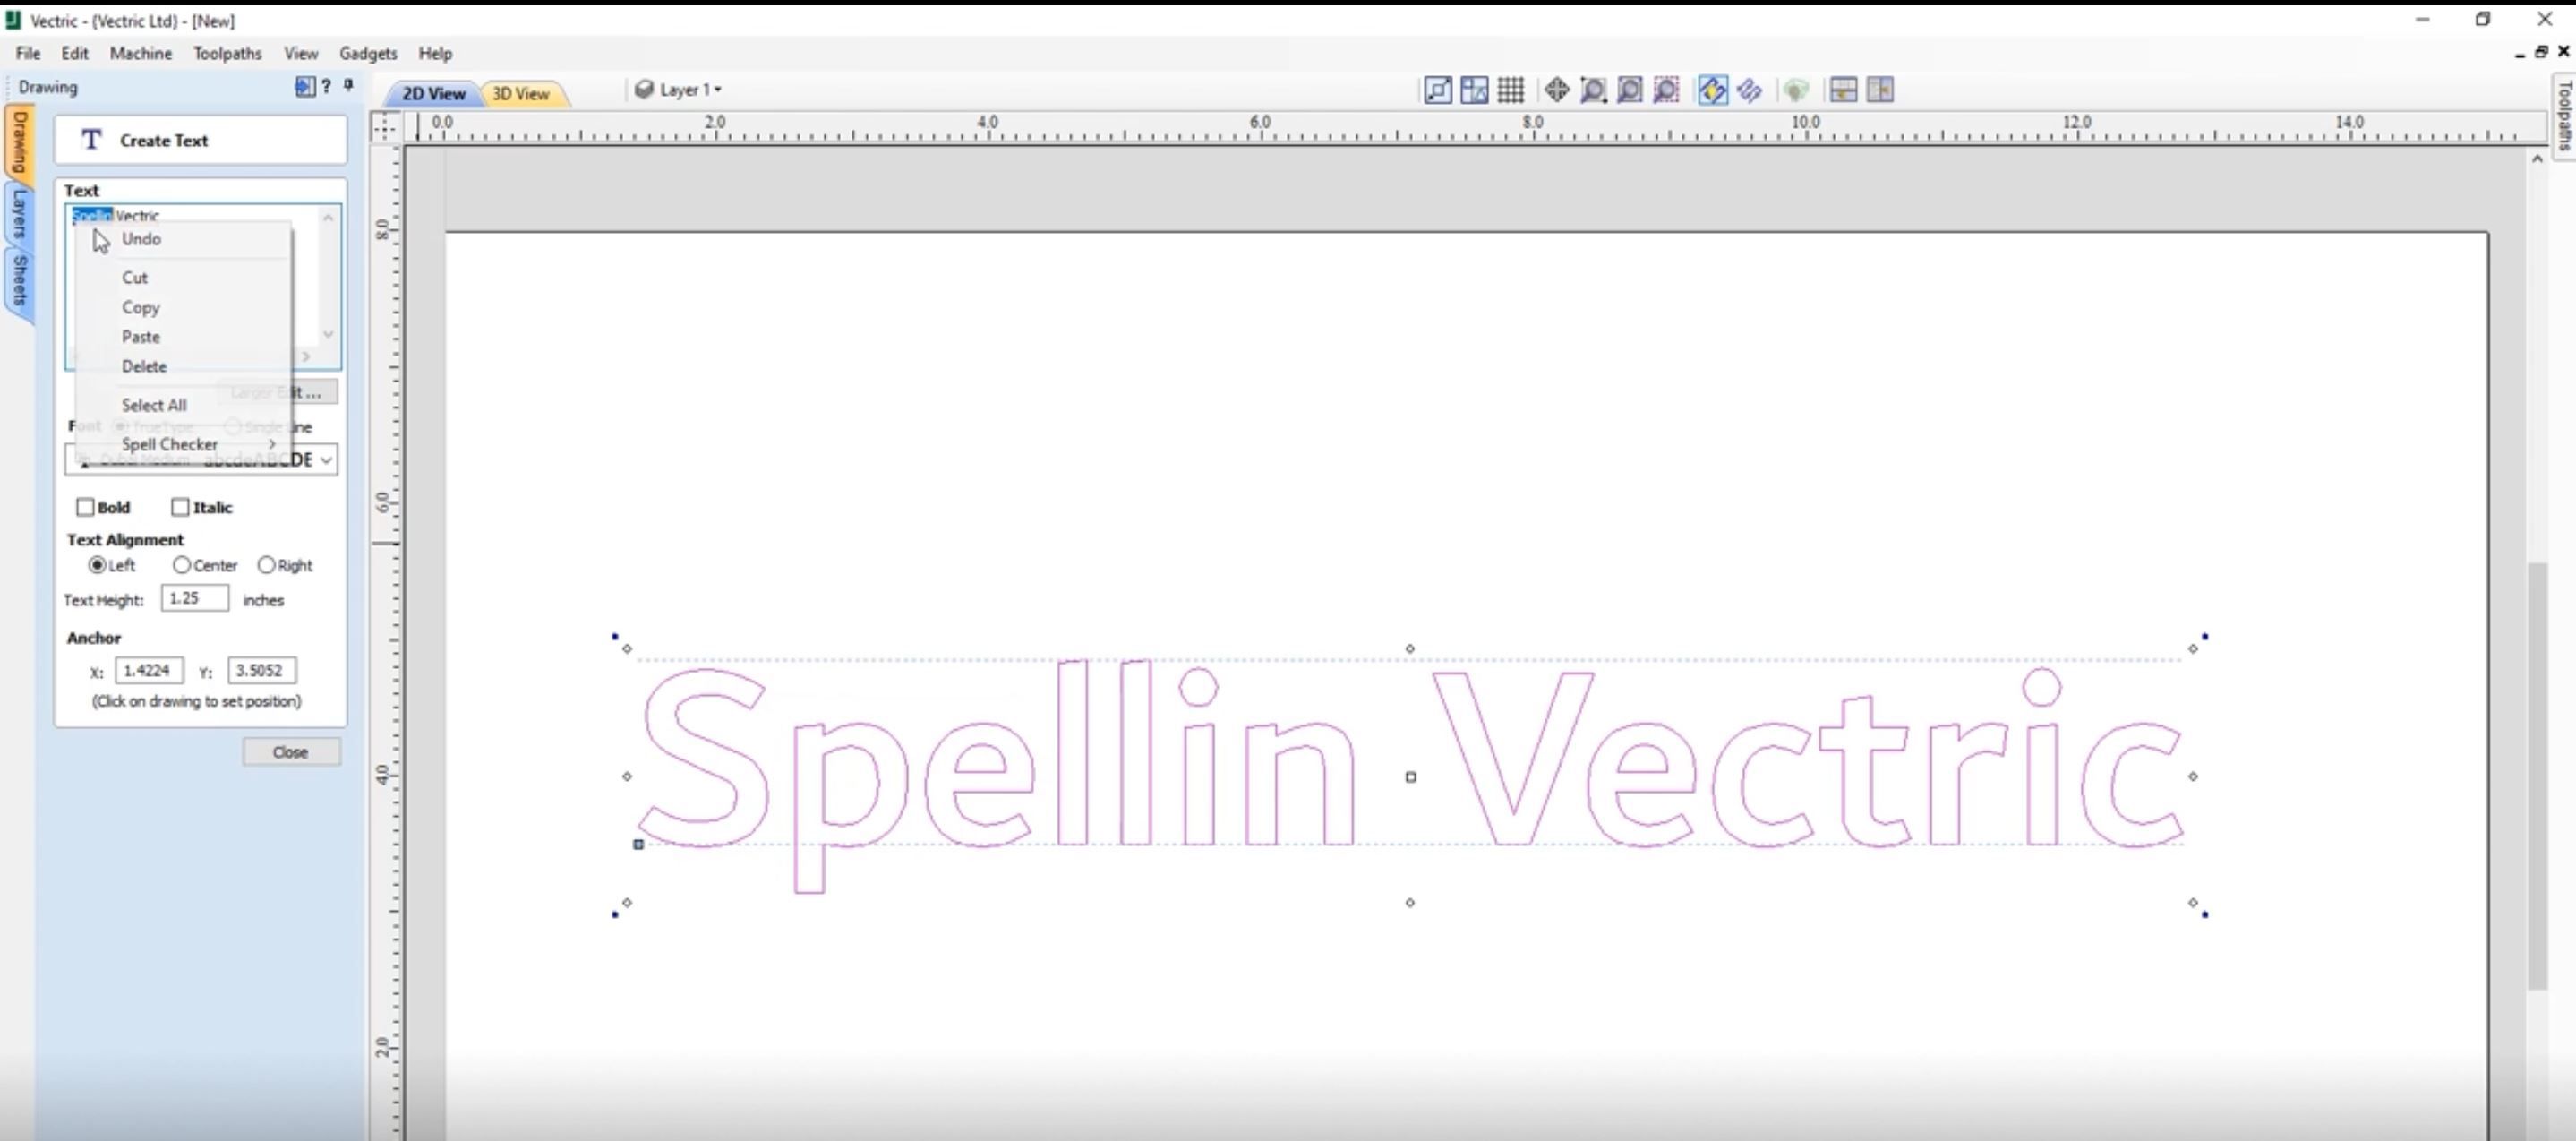
The Text tool has a spell checking feature to assist with spelling errors.
- The software checks the spelling for the user and underlines the misspelled words with red.
- When an underlined word is clicked. It suggest corrections for the user.
- There is an add word feature if you want to add a new word.
- There is a remove word feature if you want to remove a word you added by mistake ( it has to be a word added by the user).
- The language of the spell checker is the same as the language of the software.
- All the Software supported languages are supported by the spell checker except for Japanese